
This post may contain affiliate links. Click here to find out more about this.
Table of Contents
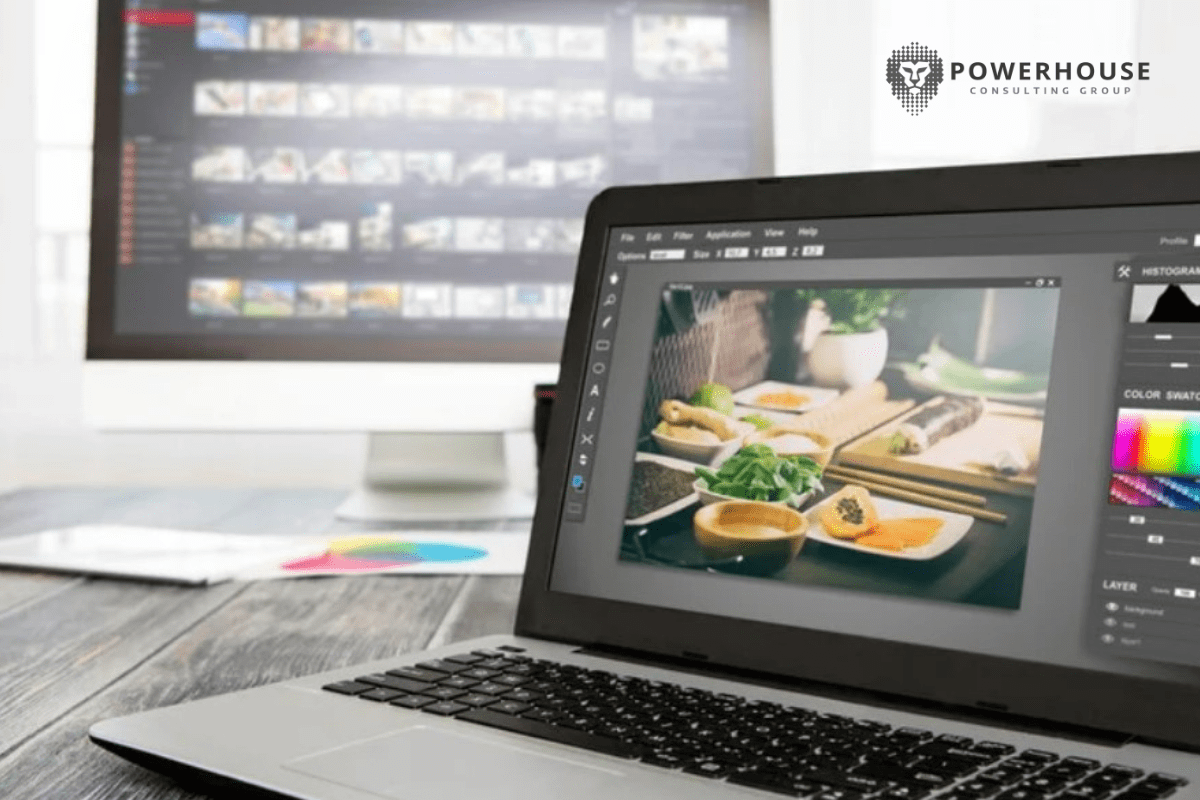
I’m just going to say it: Visual marketing is the future wave.
Images’ power to gain traffic, shares, and rankings is no denying.
If you have at least one image on your blog post, you are much more likely to rank on the top page of Google.
Images should be the lifeblood of your content marketing strategy.
Great content without images likely won’t get many shares, buzz, or any viral promotion.
But that’s easier said than done.
They are making visually pleasing images can be time-consuming.
We don’t all have the creativity or design skills to do it.
I indeed don’t have the creativity to produce diverse designs from scratch.
But I need the visuals if I want my content to be viewed and shared.

Without visuals, I’d probably drive 50% less traffic.
So I make it a priority.
I try to include a visual with every 100 words in every blog post I write.
That number can be tough to hit when I can’t think of creative designs, but thankfully, there are a ton of free (or crazy cheap) image editing tools that make you look like a professional.
And that means you can shave time off your day with just a few minutes of image editing.
Thankfully, almost all of them are easy to use, even if you have little-to-no experience with graphic design.
Here are six image editing tools that make you look like a pro and will drive your social shares through the roof.
6 Image Editing Tools to Create Engaging Media
1. VistaCreate
VistaCreate is an all-in-one online platform for designing anything a marketer or small business owner may need — no design skills necessary.
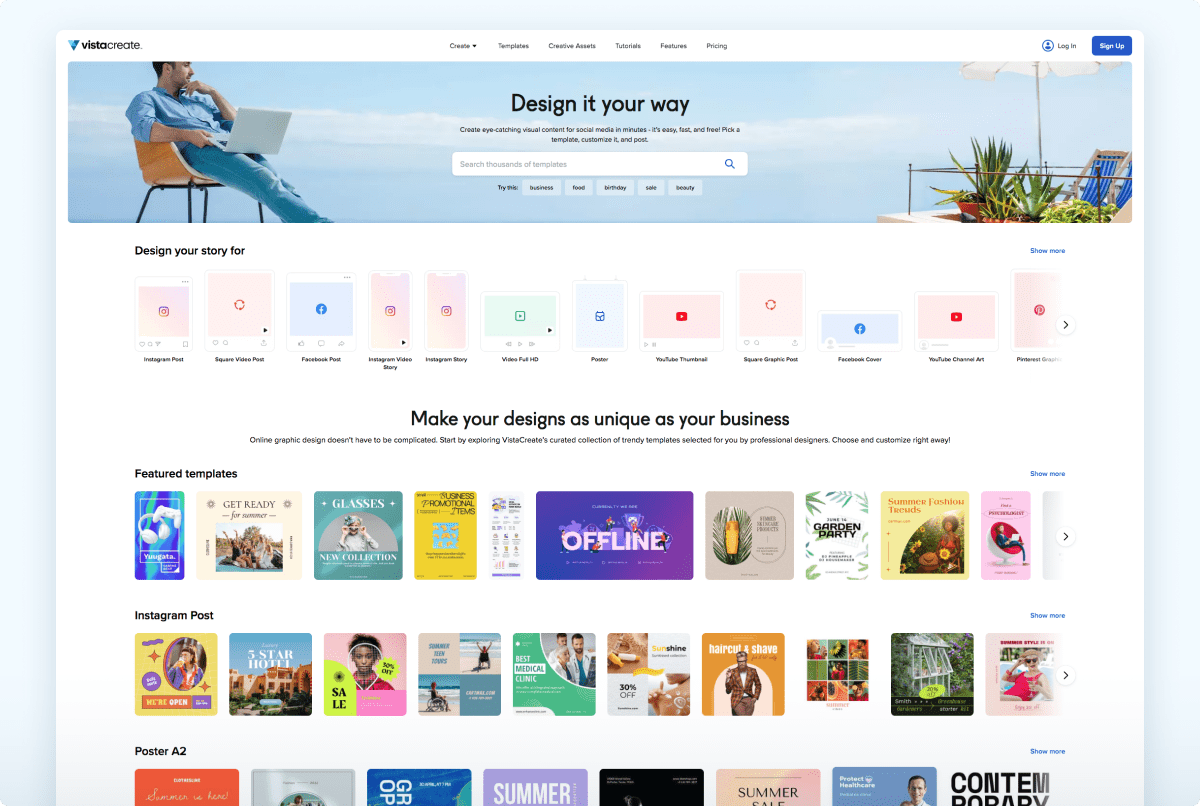
You can use it to create posts and stories for socials, make email designs, ads, presentations, and even print materials.
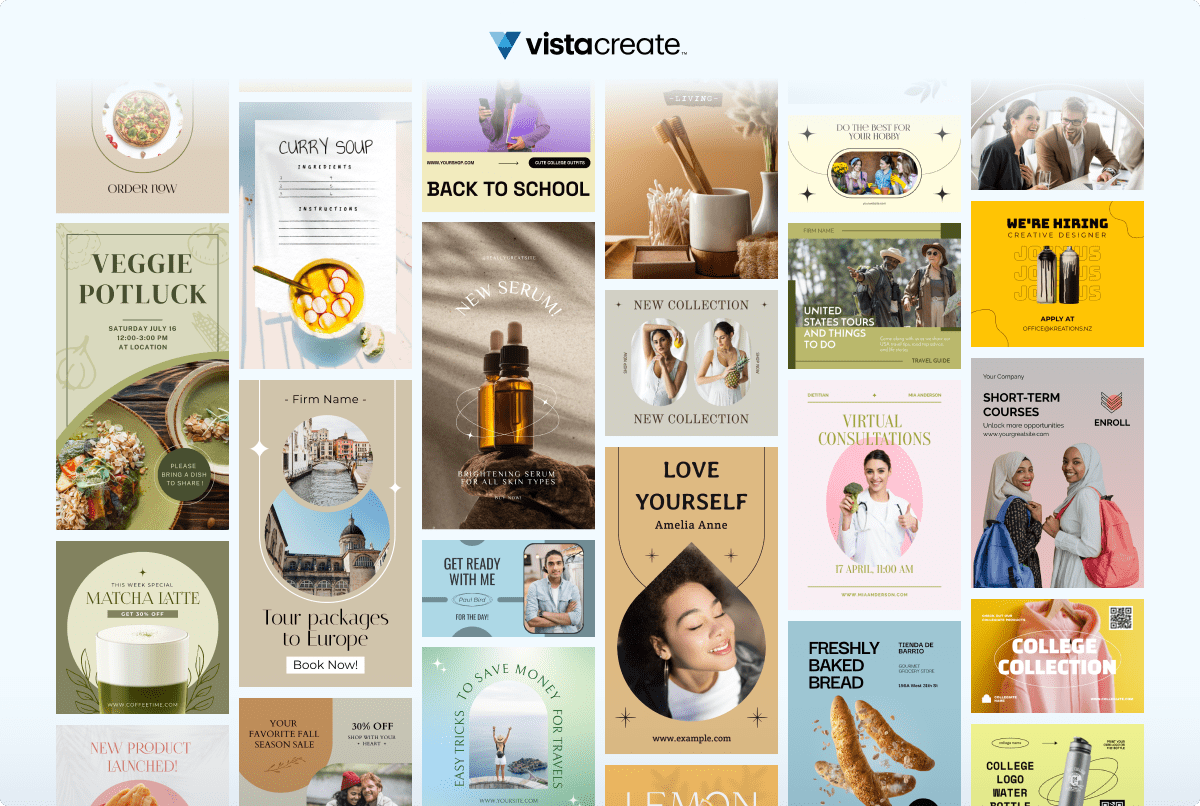
The editor offers thousands of premade templates that already look great, so you can quickly customize a design and use it immediately.
And unlike other graphic design platforms, ALL their templates are free.
In addition to templates, you access a vast library of royalty-free stock photos, videos, vectors, objects, animations, fonts, and music tracks.
With all these tools, you can make videos and animated visuals in addition to static designs.
If you want to publish your design immediately, you can post it directly from VistaCreate to your Facebook and Instagram business accounts and Pinterest. Handy, right?
I like that most of their tools are free so that you can create an excellent design on a budget.
To start creating, log in or sign up to VistaCreate.
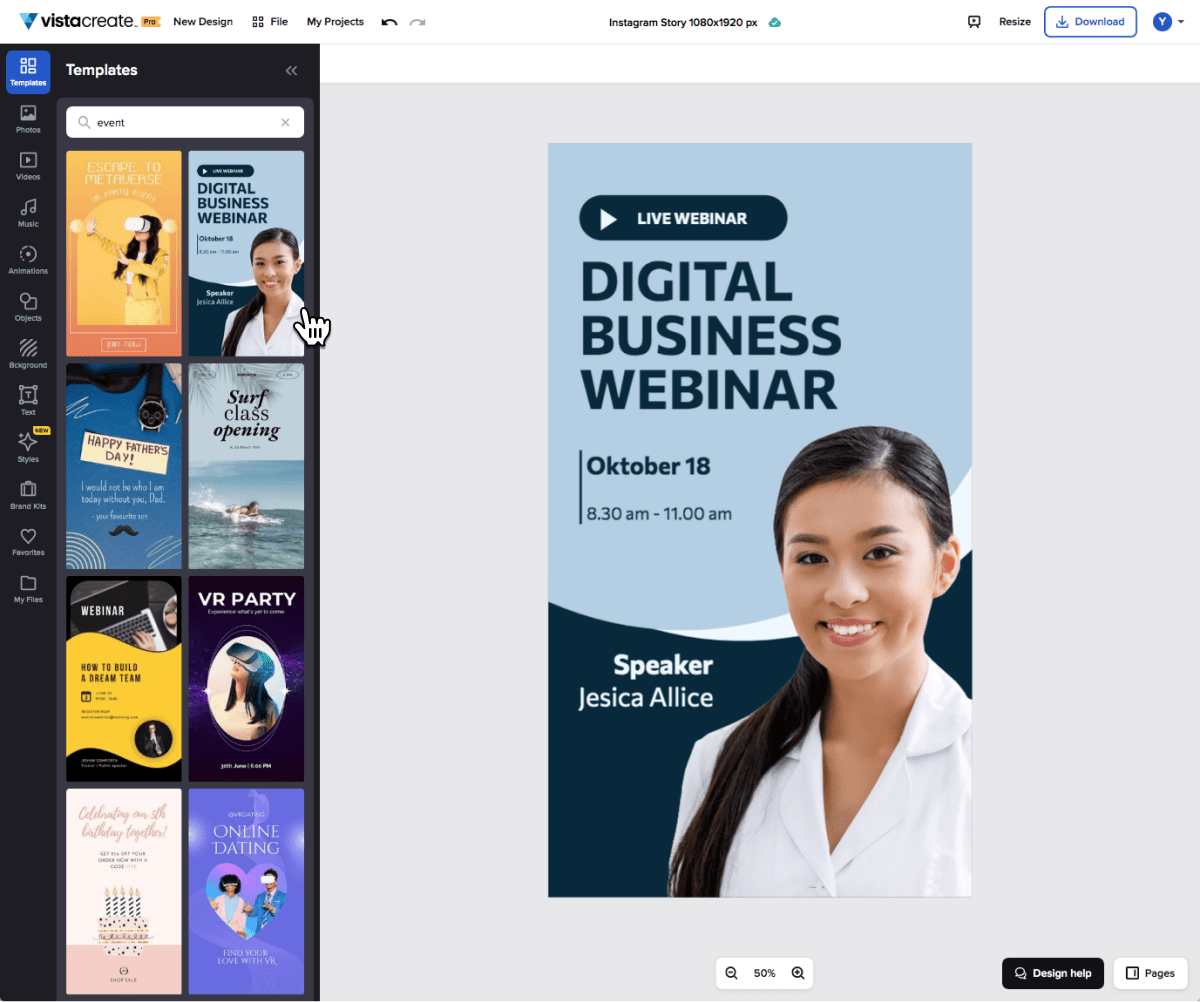
So I’ve talked a bit about what VistaCreate can do for you, but let’s show it in action. Here’s a real-life look at me putting this great tool to use.
To begin, I decided to create an Instagram video story for an event I’ll be speaking at.
So, I chose a template first.
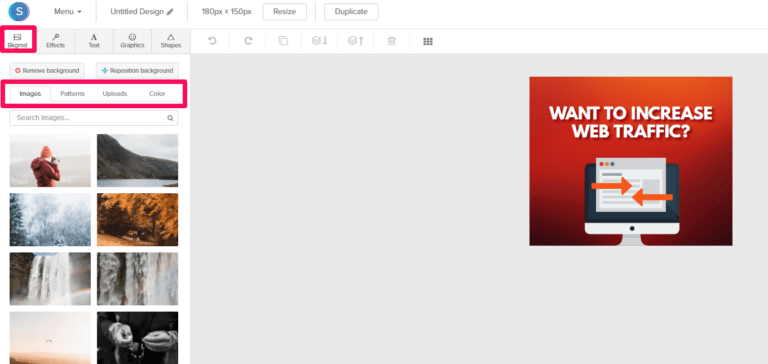
I changed the colors, added objects, and my photo, and used the Background Remover to erase the background in one click.
Next, I applied a black-and-white filter to make my photo match the style of the conference.
Next, I animated my photo and objects.
Gif of Vistacreate is being used to create an Instagram story.
I added all the information about the event and tried different styles to see which color scheme worked best.
Graphic of Instagram stories in VistaCreate.
After that, I’m ready to post!
VistaCreate also has a resize feature that allows you to make one design and resize it for different platforms in just a few clicks:
Speaking of branded designs, you can build a brand kit in VistaCreate and use it to create a cohesive look for your branding.
Add your business’s colors, fonts, and logo to your brand kit — and apply it to a template to create your on-brand design.
Having a brand kit is very convenient, primarily if you work with many different companies and want to simplify your workflow.
If you work for a new company with no logo, you can create one from the Brand Kit page using the Logomaker tool.
Click on “Create a logo from scratch,” select an industry, and type in your company name — and the Logomaker will offer many logo designs.
On top of that, I like that VistaCreate works for both digital and print so that you can make business cards, flyers, posters, postcards, and other printables in one place.
If you live in the US, you can even use VistaPrint (both companies are part of the Vista family) to have your designs printed and delivered to your door.
You can now use them to print posters, flyers, and business cards, with more formats coming soon.
In short, VistaCreate covers all marketers’ needs — creating branded content for social media and ads, making a brand kit with a logo, and designing print collateral.
You can access it on desktop and mobile, with the app available for Android and iOS.
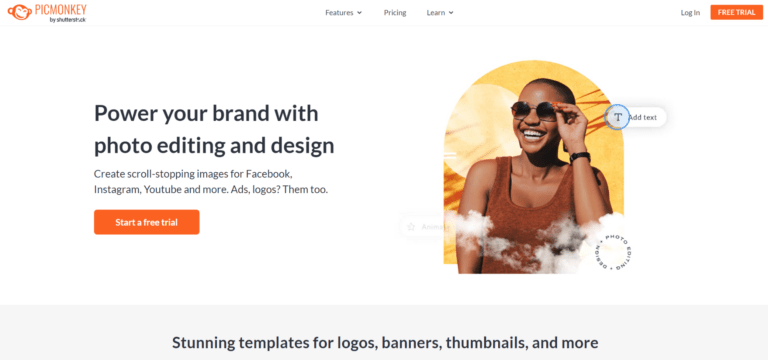
2. PicMonkey
PicMonkey is another helpful tool to use for image editing.
If you aren’t a graphic designer but want crystal-clear images with high production value, PicMonkey is one of your best bets.
PicMonkey has a slew of various features.
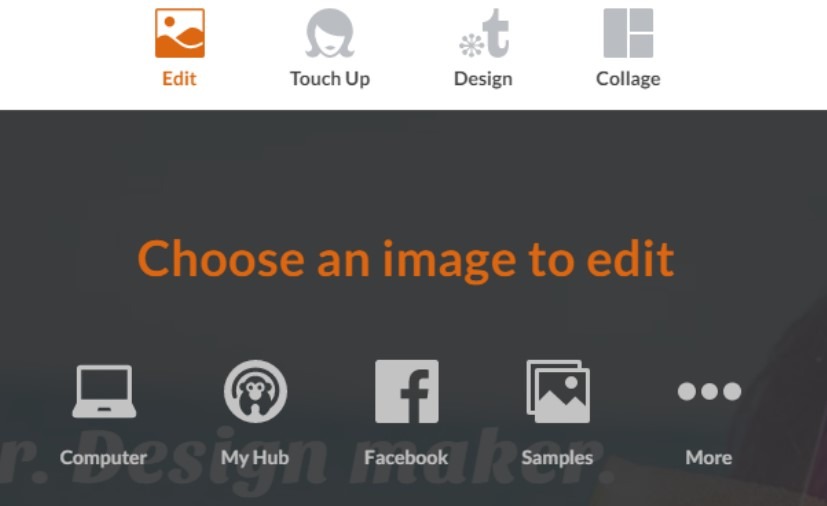
For example, you can edit existing images that you have on Facebook, your computer, or anywhere else:
You can also touch up specific photos with new effects.
Also, you can quickly start a new design from scratch or with a preset template.
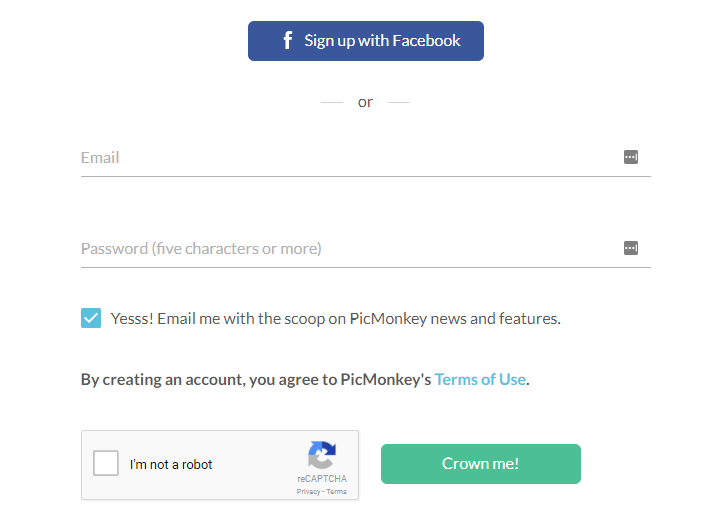
To get started, click “Start a free trial” and create your free account:

You can set up your new account with an email or by signing up directly with Facebook:
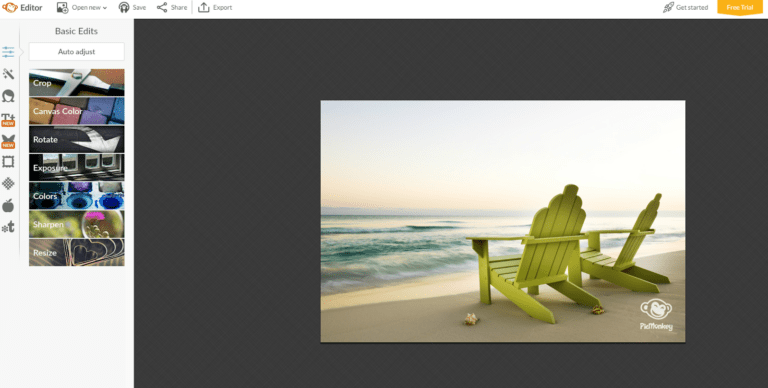
Once you’ve made a free trial account, you should be directed back to the dashboard to edit content:
One of the best benefits of PicMonkey is the actual photo editing ability.
For example, other platforms focus more on social media and content marketing images.
But PicMonkey allows you to use various filters that you’d find in an expensive application like Photoshop.
For example, you can edit things like filters, sharpening, and blurring:
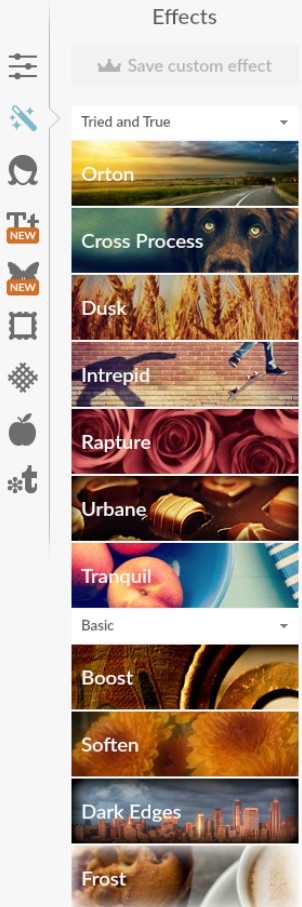
You can even tap into more advanced photo editing tools like curves and levels:
Use advanced editing tools in PicMonkey, an image editing tool, to edit curves and levels.
On top of that, you can touch up real-life photos of yourself or your company—if stock photos are not ideal—using excellent image editing tools:
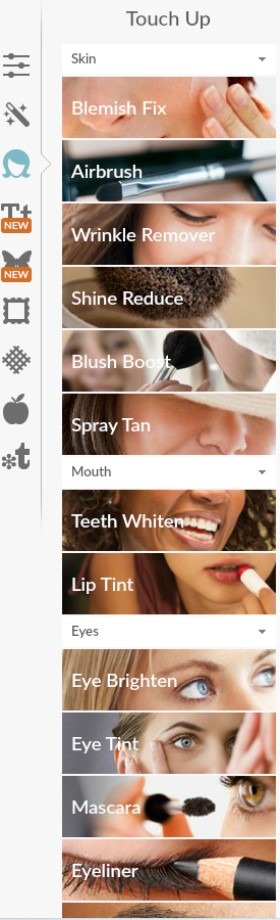
Touch up real pictures of yourself or your company using PicMonkey.
Want to add a spray tan? Who doesn’t?
The portrait photo editing tools are great and allow you to perfect any headshot for your social media or team photo for your website.
On top of that, you can add tons of cool overlays to your content.
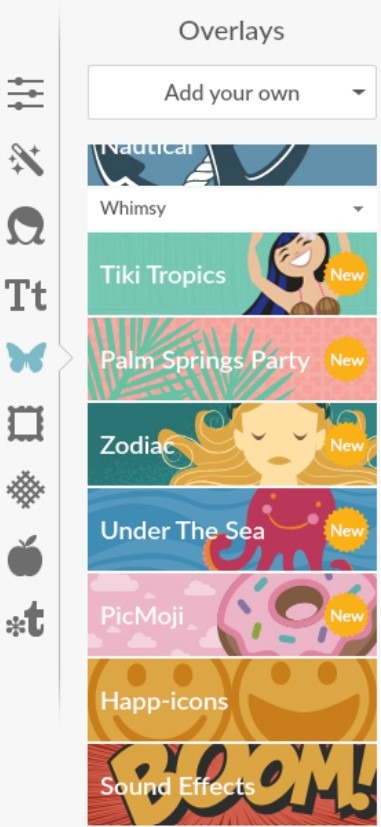
Add overlays to your content using the image editing tool PicMonkey.
For example, if you want to add emojis to your picture, click the “PicMoji” option and click any emoji to add it instantly:

Add emojis to your photos using PicMonkey.
You can also pick from a bunch of different existing themes and templates if you lack inspiration or creativity:
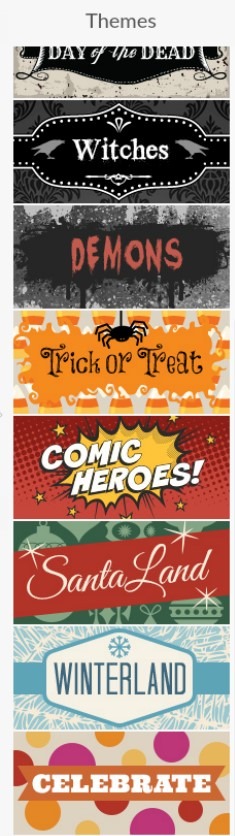
Use different themes or templates on the image editing tool PicMonkey.
PicMonkey is similar to other devices but lacks the diverse template and preset options some offer.
Though it lacks templates, it makes up for diverse image editing capabilities.
The ability to edit curves and levels or touch up portrait-style photos stands out.
PicMonkey is an excellent tool for everyday people who need detailed image editing but don’t want to get bogged down by advanced, technical programs.
This is your go-to tool if you want to create a beautiful photo in just a few minutes that is less focused on text and templates.
3. Snappa
I’m also a big fan of Snappa for image editing.
Snappa is similar to other tools in that it has countless high-quality templates.
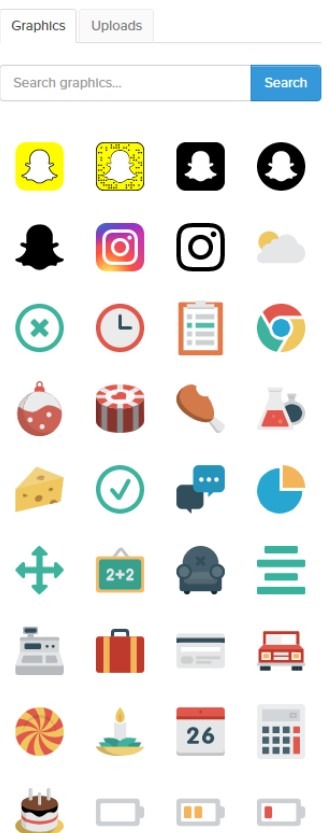
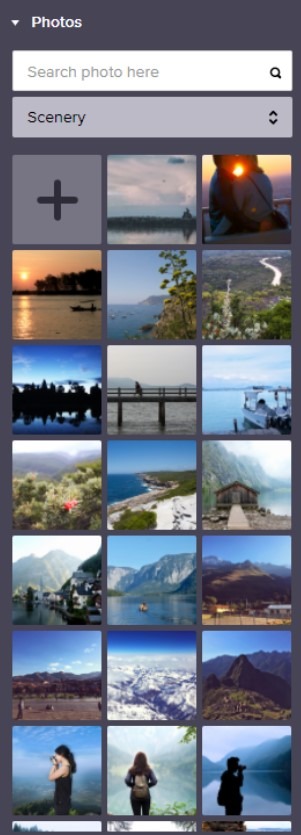
But my favorite features are the countless free stock photos and high-quality icons:
![]()
They are some of the best free icons I have ever seen.
One of the best features Snappa has to offer is the social media scheduling tool:
You can share your graphics directly from Snappa in seconds, saving you the time it takes to download and schedule on a different tool.
You can even use the tool to resize existing images, which is a lifesaver when it comes to repurposing content for different platforms:

To start creating your graphics in just a few minutes, click “Create My Graphic Now” on the homepage:

Sign up for a free account and head to your dashboard to get started.
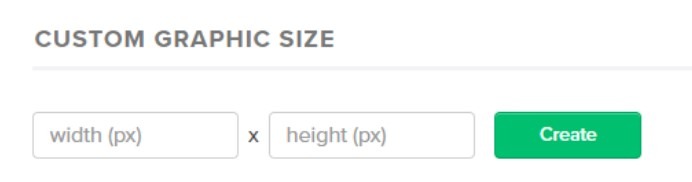
Here, you can start to create an image based on custom dimensions:
Or choose from standard template sizes meant for various platforms:
One of my favorite uses for Snappa is the diverse selection they have for social media and PPC ads:
It’s probably one of the best image editing tools, with the most options for creating high-quality ads in just minutes.
You don’t need to pay a designer outrageous prices for a few banner ads anymore.
Snappa allows you to do it in minutes.
Got a new idea for an ad on Facebook? Don’t wait 48 hours for your designer to make it.
Once you’ve picked out your desired template size, you can choose from a bunch of free options:
These templates are fantastic and easy to work with.
After selecting your template, you can customize just about everything on it.
You can add high-quality background images or icons for free:
But the best part about Snappa’s editing tool is the free, high-quality icons.
These icons are what you’d expect from a professional graphic designer, and they are all available for your use:
They have anything you can think of, from social media to emoji-style icons.
If you have a particular icon graphic in mind, you can search in the bar above to narrow down your results.
Use the search tool to look for specific icons you have in mind with Snappa.
And the free, professional-quality stock photos are endless:
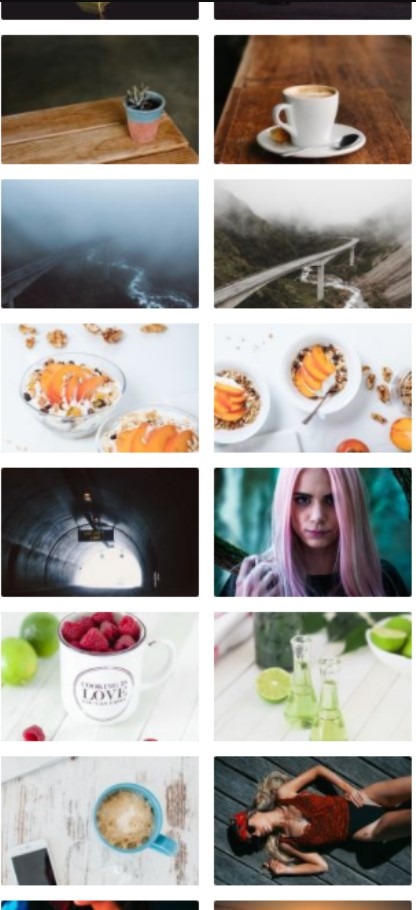
Use the image editing tool Snappa for high-quality stock images.
Snappa is an excellent tool if you love to use icons or stock photos in your work.
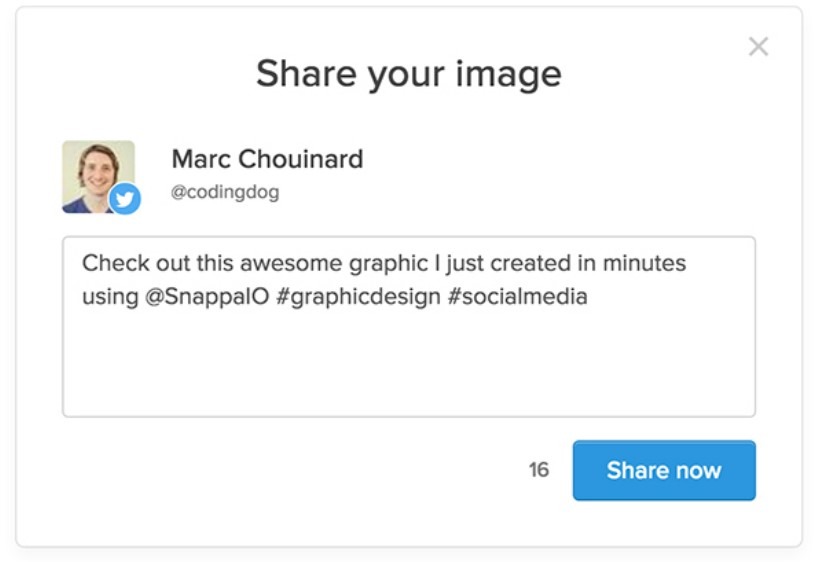
If you like instant social scheduling, Snappa has that, too.
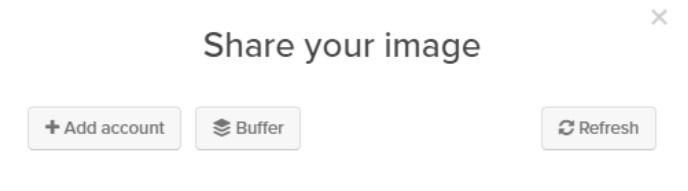
Hit “Share” in the top-right corner, and you can connect social media accounts and even send content to Buffer for scheduling:
Take advantage of the diverse, free offerings from Snappa if you want images that make you look like a professional designer.
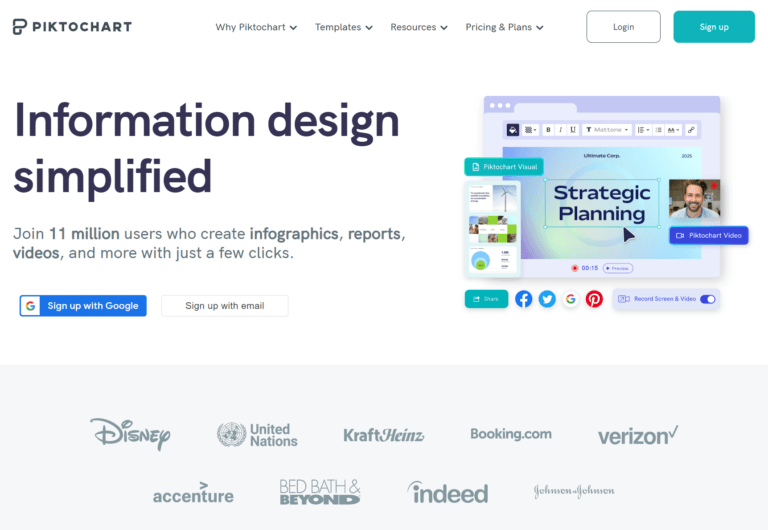
4. Piktochart
Beyond just essential image editing tools for social media, Google Ads, or Facebook Ads, Piktochart is centered around infographics.
The image editing tool Piktochart is excellent for creating infographics.
Usually, infographics take quite a bit of time to create.
They are a laborious process that can require professional designers and lots of money.
But you don’t need any of that.
Piktochart is extremely simple and easy to use, and I’ve used it countless times to make infographics on QuickSprout.
To get started, click the “Start For Free” button on the homepage:
Start a free trial with Piktochart.
Once you’ve created an account, it should instantly direct you to the dashboard.
From here, you can choose between three types of graphics:
Choose between three types of pictures when editing images on Piktochart.
You can create printable graphics, presentations, and infographics.
My personal favorite use of Piktochart is for infographic templates.
There are tons of totally free templates to take advantage of:
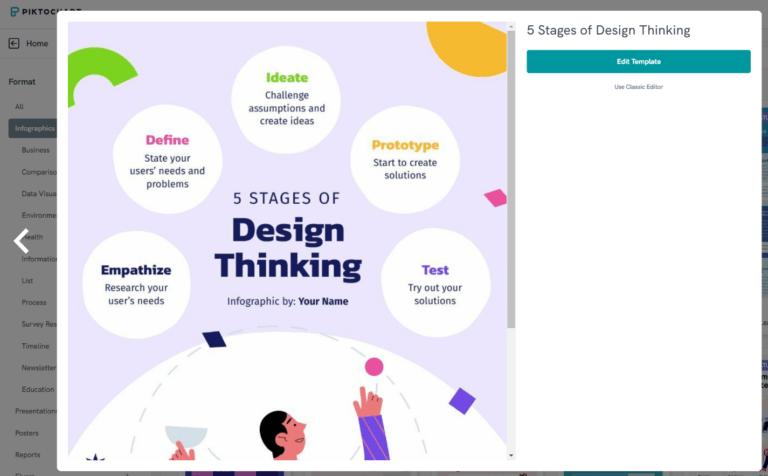
If you want to inspect one and get a preview, click on the template to get a sneak peek:
Preview an infographic template that you are considering using.
If you like the design, click “Use Template” at the top:
From here, you can select between multiple color schemes to fit your company branding:
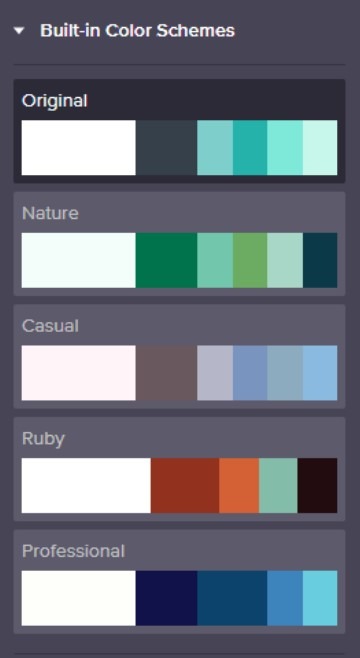
Choose between Piktochart’s different color themes when editing your image.
On top of that, Piktochart offers high-quality graphics, just like Snappa:
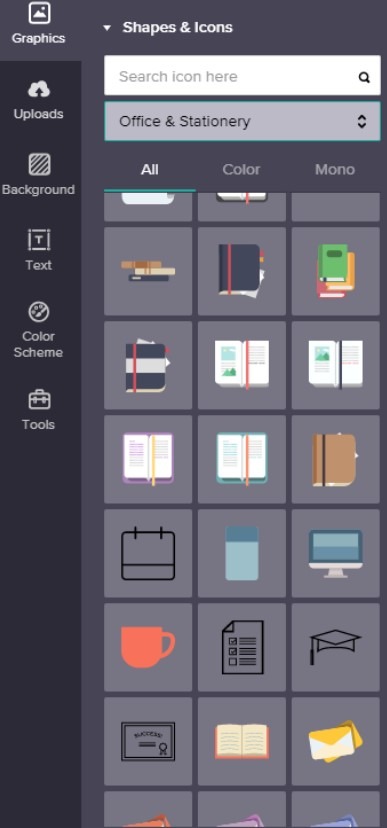
You can pick from thousands of icons related to almost anything you can think of.
They also have a diverse stock photo library:
Piktochart is one of my favorite infographic tools because they have some of the best free options on the market.
And they don’t try to trick you into buying anything.
What you see is what you get.
This is your best bet if you want a high-quality infographic editing tool.
5. Pixlr
Now that we’ve covered some of the best image editing tools on the market, it’s time for one of my all-time favorites.
This tool isn’t for the faint of heart, though.
It’s meant for more experienced users who want deep customization options and have an essential graphic design background.
You might find this tool a bit frustrating if you don’t have experience developing graphics out of a blank canvas.
Pixlr’s photo editor resembles Photoshop almost precisely. It has just about every editing feature you’d find in a paid tool.
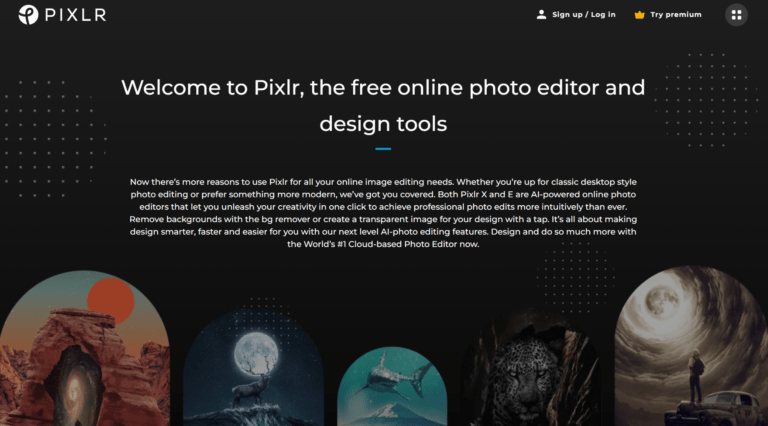
Pixlr is a free image editing tool that resembles other high-quality, expensive applications.
It’s a completely free tool with incredible customization options you’d expect in a high-quality, expensive application.
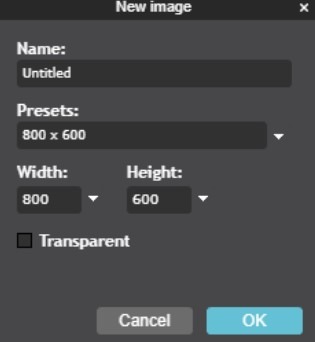
Head to Pixlr and create a new image from scratch or open an existing one from a URL or your computer.
If you aren’t comfortable creating designs from scratch, Pixlr probably won’t be your go-to tool.
It requires some design elements and skills above the level of Snappa.
If you create a new image, you can select the dimensions to your liking:
From here, you start to edit a blank canvas just like you would in Adobe’s Photoshop:
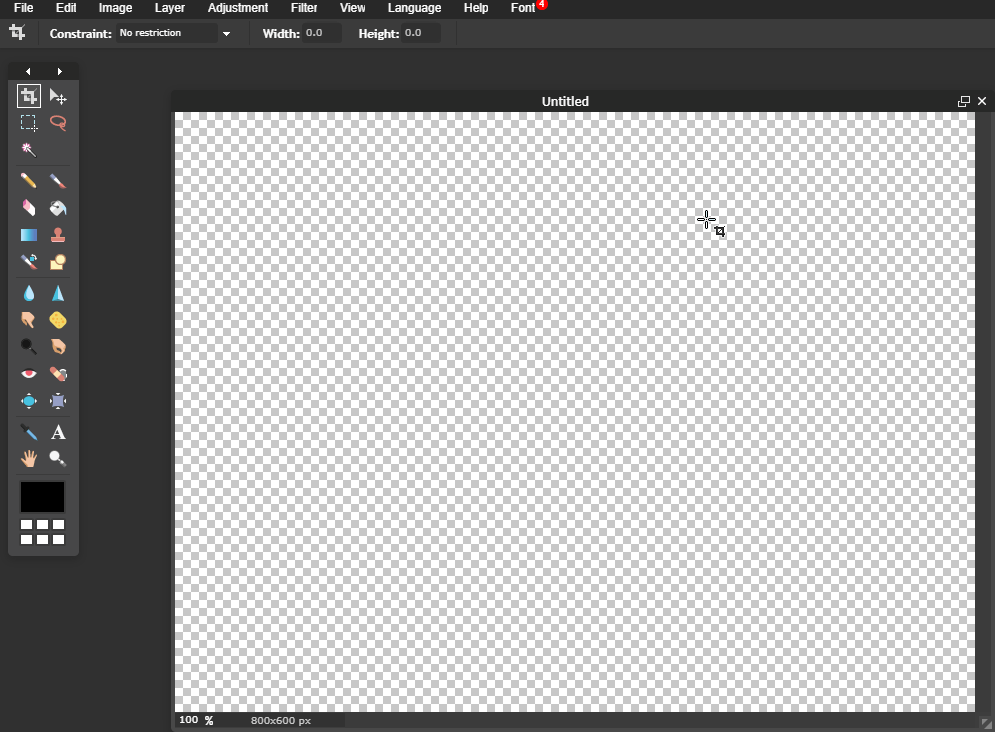
The greatest strengths of this tool come in the form of detailed filters, layers, and adjustments.
For example, you can use it to edit a fantastic image or create a new blog graphic with various options:

It’s not the most accessible tool on the market, but if you are looking for a completely free agency with more customization options, Pixlr is excellent.
You can build graphics from the ground up or stitch them together like you would in Photoshop.
Go ahead and give it a try today!
6. Luminar AI
From Skylum, we have the first photo editor powered solely by artificial intelligence: Luminar AI.
Its goal is to take some of the stress out of photo editing by automating the process.
Bridging the gap between essential image editing tools and pro software like Photoshop, this software offers the right in-between gear. Best of all, you need no experience to use it.
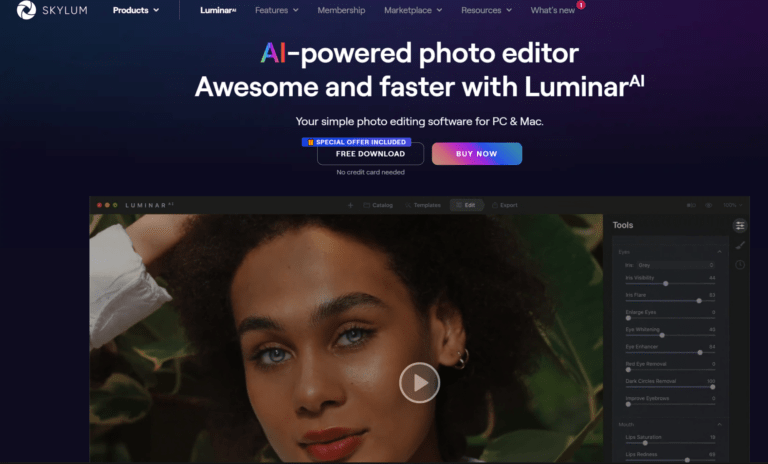
Luminar AI is a great image editing tool that fits between essential image editing tools and pro software like Photoshop.
Once you choose an image to work on, you can start making additions and enhancements.
Navigate through the templates and editing features. The specialty features of Luminar are Face AI, Landscape, and Portrait Bokeh. The software will even walk you through the process with editing suggestions it curates.
The AI portrait, or Face AI, is meant to make enhancements from shine removal to face slimming to color correcting.
Highlight your muse’s smile and give them flawless skin for that “wow” level Luminar helps you strive towards.
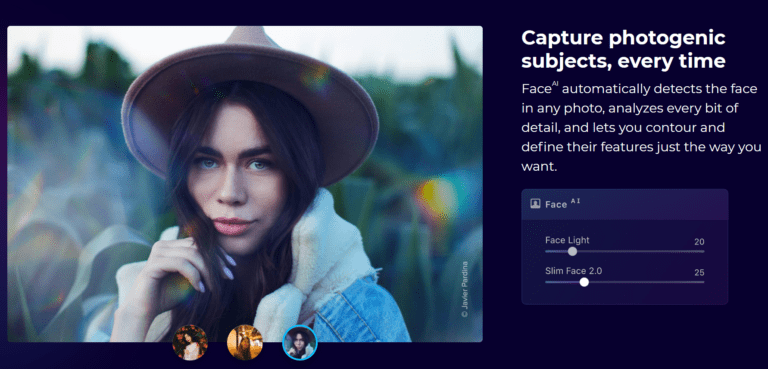
Luminar AI offers AI portrait, or Face AI, to enhance photos.
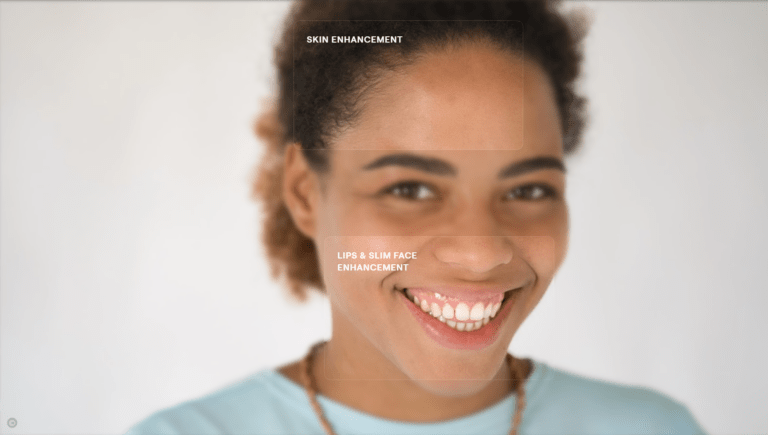
An image of a woman smiling is being edited with skin, lip, and slim face enhancement on Luminar AI.
This creative influence makes Luminar stand out from other AI editing software.
In the more advanced tool section, you will see options that help you replace a background or get the perfect bokeh effect. The cool thing is that this can be done in the same photo.
With Landscape EnhanceAI, a custom brightness map is used to intelligently balance both light and color across the entire image to make it shine.
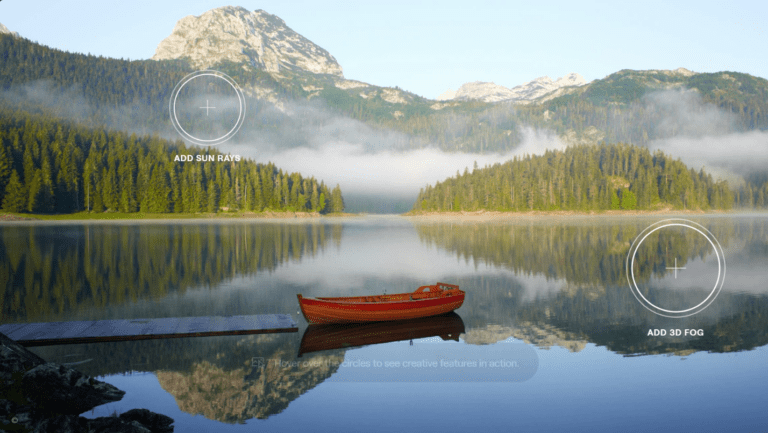
A portrait image of a dock, boat, water, mountains, and trees in the background is being enhanced using Landscape Enhance AI on Luminar AI.
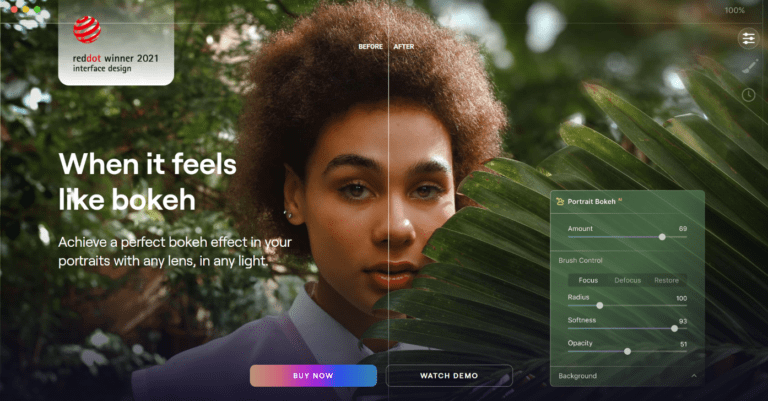
Lighting is everything with photo editing. The Bokeh Effect is brutal to master, getting the proper balance of light just right. Luminar AI puts you in control and suggests good focus and blur for an aesthetically pleasing edit.
Achieve the perfect bokeh effect when editing images on Luminar AI.
When you first start using the software, learning can be a bit of a chore. After some time, you’ll remember which features are your favorite.
No matter your experience with editing, Luminar allows you to make quick edits at the push of a button. This is especially great for those who don’t like sitting in front of their computer too long.
Another thing about this software I like besides its ease of use: While it may be a Photoshop competitor, Luminar can be used as a Photoshop plugin.
That’s right. You can have the best of both worlds with each tool’s aspects.
So, I say it’s a tool most of you will be a fan of.
Frequently Asked Questions about Image Editing Tools
What is image editing?
Image editing enhances digital or analog photographs using various methods, devices, or programs.
Photo and image editing might be different when creating graphics versus editing a picture. Scanners, digital cameras, and other image-capturing tools may produce good yet imperfect images that need further editing attention.
What are image editing tools?
An image editing tool is a software that enables the editing and conversion of images to varying graphic formats. Everyone knows Photoshop is one of the most popular image editing tools, but many others have similar capabilities.
Some specialize in removing backgrounds or are a beginner-friendly version of capabilities found within Photoshop. If you want to make an infographic, try Piktochart. Maybe you want some AI guidance when editing; try Luminar AI instead. Think of your needs or what you want to learn, and let that drive your starting point for your editing journey.
How should I choose an image editing tool?
Think about the functionality you need to perform the task at hand. Maybe you need to crop, rotate, or straighten an image. Perhaps you need to correct a smile or the shading of colors of an image. You might need to create an infographic.
Please read up on the handy tools I mentioned in this post and choose the one that’s best to get your job done.
What are some features I need to have when editing images?
Some standard features of a basic image editor include:
- Crop and rotation
- Lighting adjustment (exposure, brightness, contrast, saturation, etc.)
- Focus and sharpness correction
- Blemish corrections
- Red-eye adjustment
Along with some of these basic features, items you want to have, especially for editing images, include adding layers to create different amounts of transparency and adding elements like blur or vignette to make specific appearances.
What is photo editing?
This post-production technique of digital photography involves using photo editing tools to alter images to your desired outcome. It is the digital photography equivalent of a darkroom, where photographs are edited after they’re taken.
How to learn photo editing?
Start with photo editing tutorials to learn your style. YouTube is always a great place to start, but the software you use likely offers a tour of its features – use them to your advantage. You can also avoid the need for a lot of editing by adjusting your camera’s settings. A higher-quality camera helps, too. With many of the tools I’ve mentioned, the software provides step-by-step instructions for using the product in real-time during your editing process. If you’re still unsure how to get started, read our complete guide on designing stunning visuals as a beginner.
How to calibrate the monitor for photo editing?
This will depend on whether you have a Mac or PC
For PC: Go to Start > Control Panel > Appearance and Personalization > Display > Calibrate Display Color. Then open the software that will walk you through and give you a general screen calibration. You can also find it by searching for “Calibrate Display Color” in your Windows search box.
For Mac: With the glossy glass, it’s a bit more complicated, but setting your white point to 5500 will give your screen a warm and relatively accurate display.
What’s the difference between a photo editing tool and an image editing tool?
Photo editing tools are exclusively used for manipulating images captured with a camera. Image editing tools can do this as well, but they also can work on static graphics or potentially combine the two.
Conclusion
Content marketing should always include visuals.
You can’t just stick a bunch of text up on a page and expect your audience to read and digest every word.
It’s just not going to happen.
Videos and images are great for grabbing their attention and getting your message across.
And, as I said, Google likes them, too. A recent study on Google rankings found that images can even help you rank better.
Images should always focus on your content marketing and social media strategies.
They are great for driving shares and clicks that plain text can’t make happen.
But how do you create images when you have no graphic design experience?
Thankfully, there are tons of free online tools with templates and drag-and-drop style designs.
These tools are excellent for creating designs in a fraction of the time without the need to learn graphic design skills.
These tools have thousands of free themes, icons, and tools for you!
Start by using VistaCreate.
It’s one of the most popular image editing tools on the market. It’s excellent for fast, easy designs for almost anything you can think of.
Try PicMonkey for diverse portrait editing and more advanced tools with an easy interface.
Snappa is excellent if you want high-quality icons and integrated social publishing.
Pixlr is the most advanced of the tools but offers incredible Photoshop-quality features for free.
Luminar brings a new concept to photo editing tools with AI capabilities.
Even a beginning designer will look like a pro with these tools.
What are your favorite image editing tools for content marketing and social media?
