This post may contain affiliate links. Click here to find out more about this.
Table of Contents
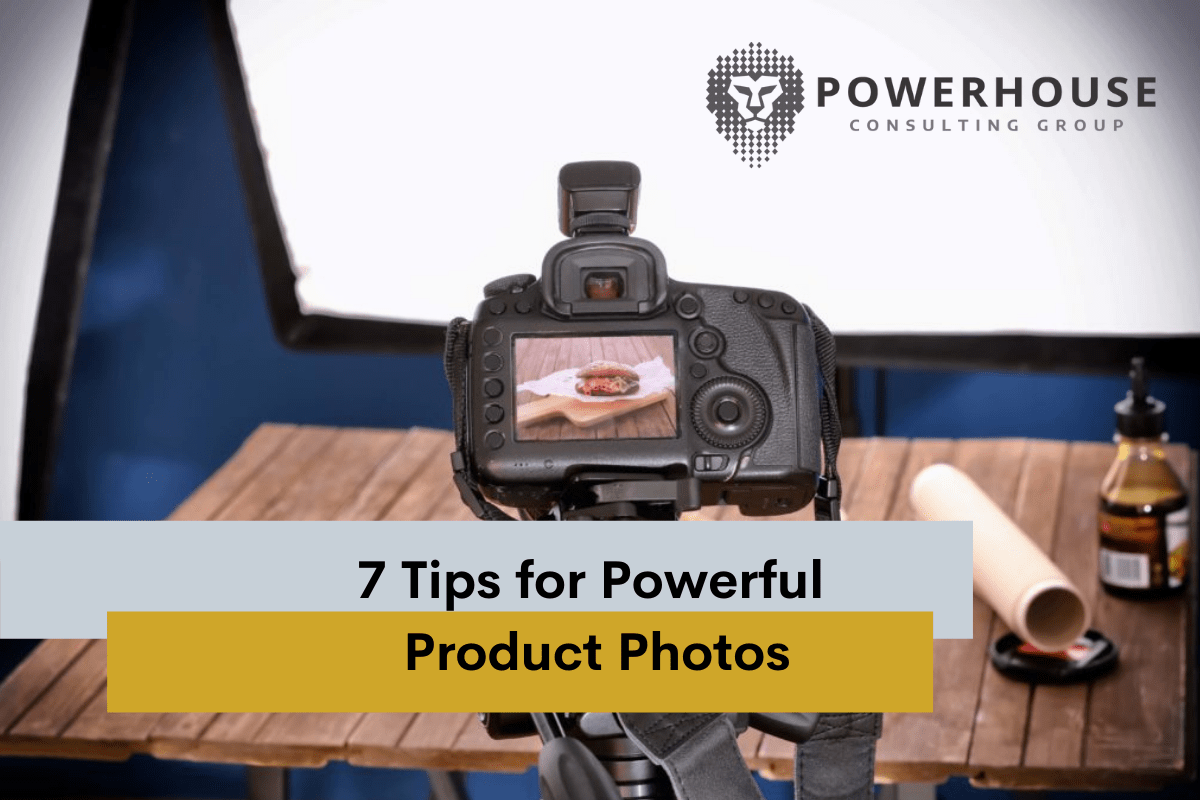
Product photos are a vital part of e-commerce. Because they provide a central connection between customers and products, photos can make or break an e-commerce business. Here are 7 Tips for Powerful Product Photos.
7 Powerful Product Photos Tips That You Should Do
Products with high-quality photography look better and almost always have higher conversion rates. You can have a great-looking website and user interface, but it is like driving a Mercedes with a flat if you don’t have great product photos. With that in mind, the following are some tips for getting great e-commerce product photos.
1. Plan Ahead
First of all, it’s good to have a plan before you start shooting product photos. Knowing what photos you’ll need, and how you’ll use them, will help make the process more efficient.
It’s ideal to prepare ahead and shoot an entire line at once. For example, if you have 200 vitamin bottles and only shoot the fronts, but later decide you want shots of the supplement data, getting the same lighting arrangement and photo sizes to match the front bottles will be much more difficult. When possible, take many images in one session.
2. Pick the Best Products
It might seem obvious, but you don’t want to photograph flawed products. The best photos, after all, start with the best products.
One of the biggest mistakes people make, whether they are using a professional product photographer or taking their own photos, is to pull products randomly to shoot straight off the warehouse shelf without taking a close look at them.
Instead, evaluate the product for crooked labels, scratches, packaging issues, irregular product fill levels, dents, and other problems. Choose the best samples you have on hand. When you zoom in on a photo on the screen, you’ll notice things like crooked labeling that you wouldn’t notice otherwise. Always begin with the greatest possible sample.
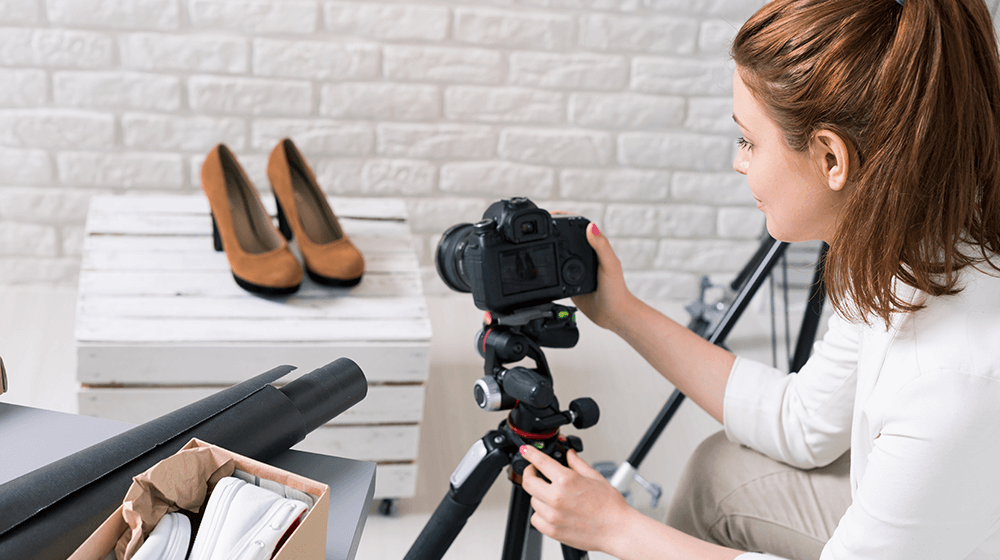
3. Focus on Quality
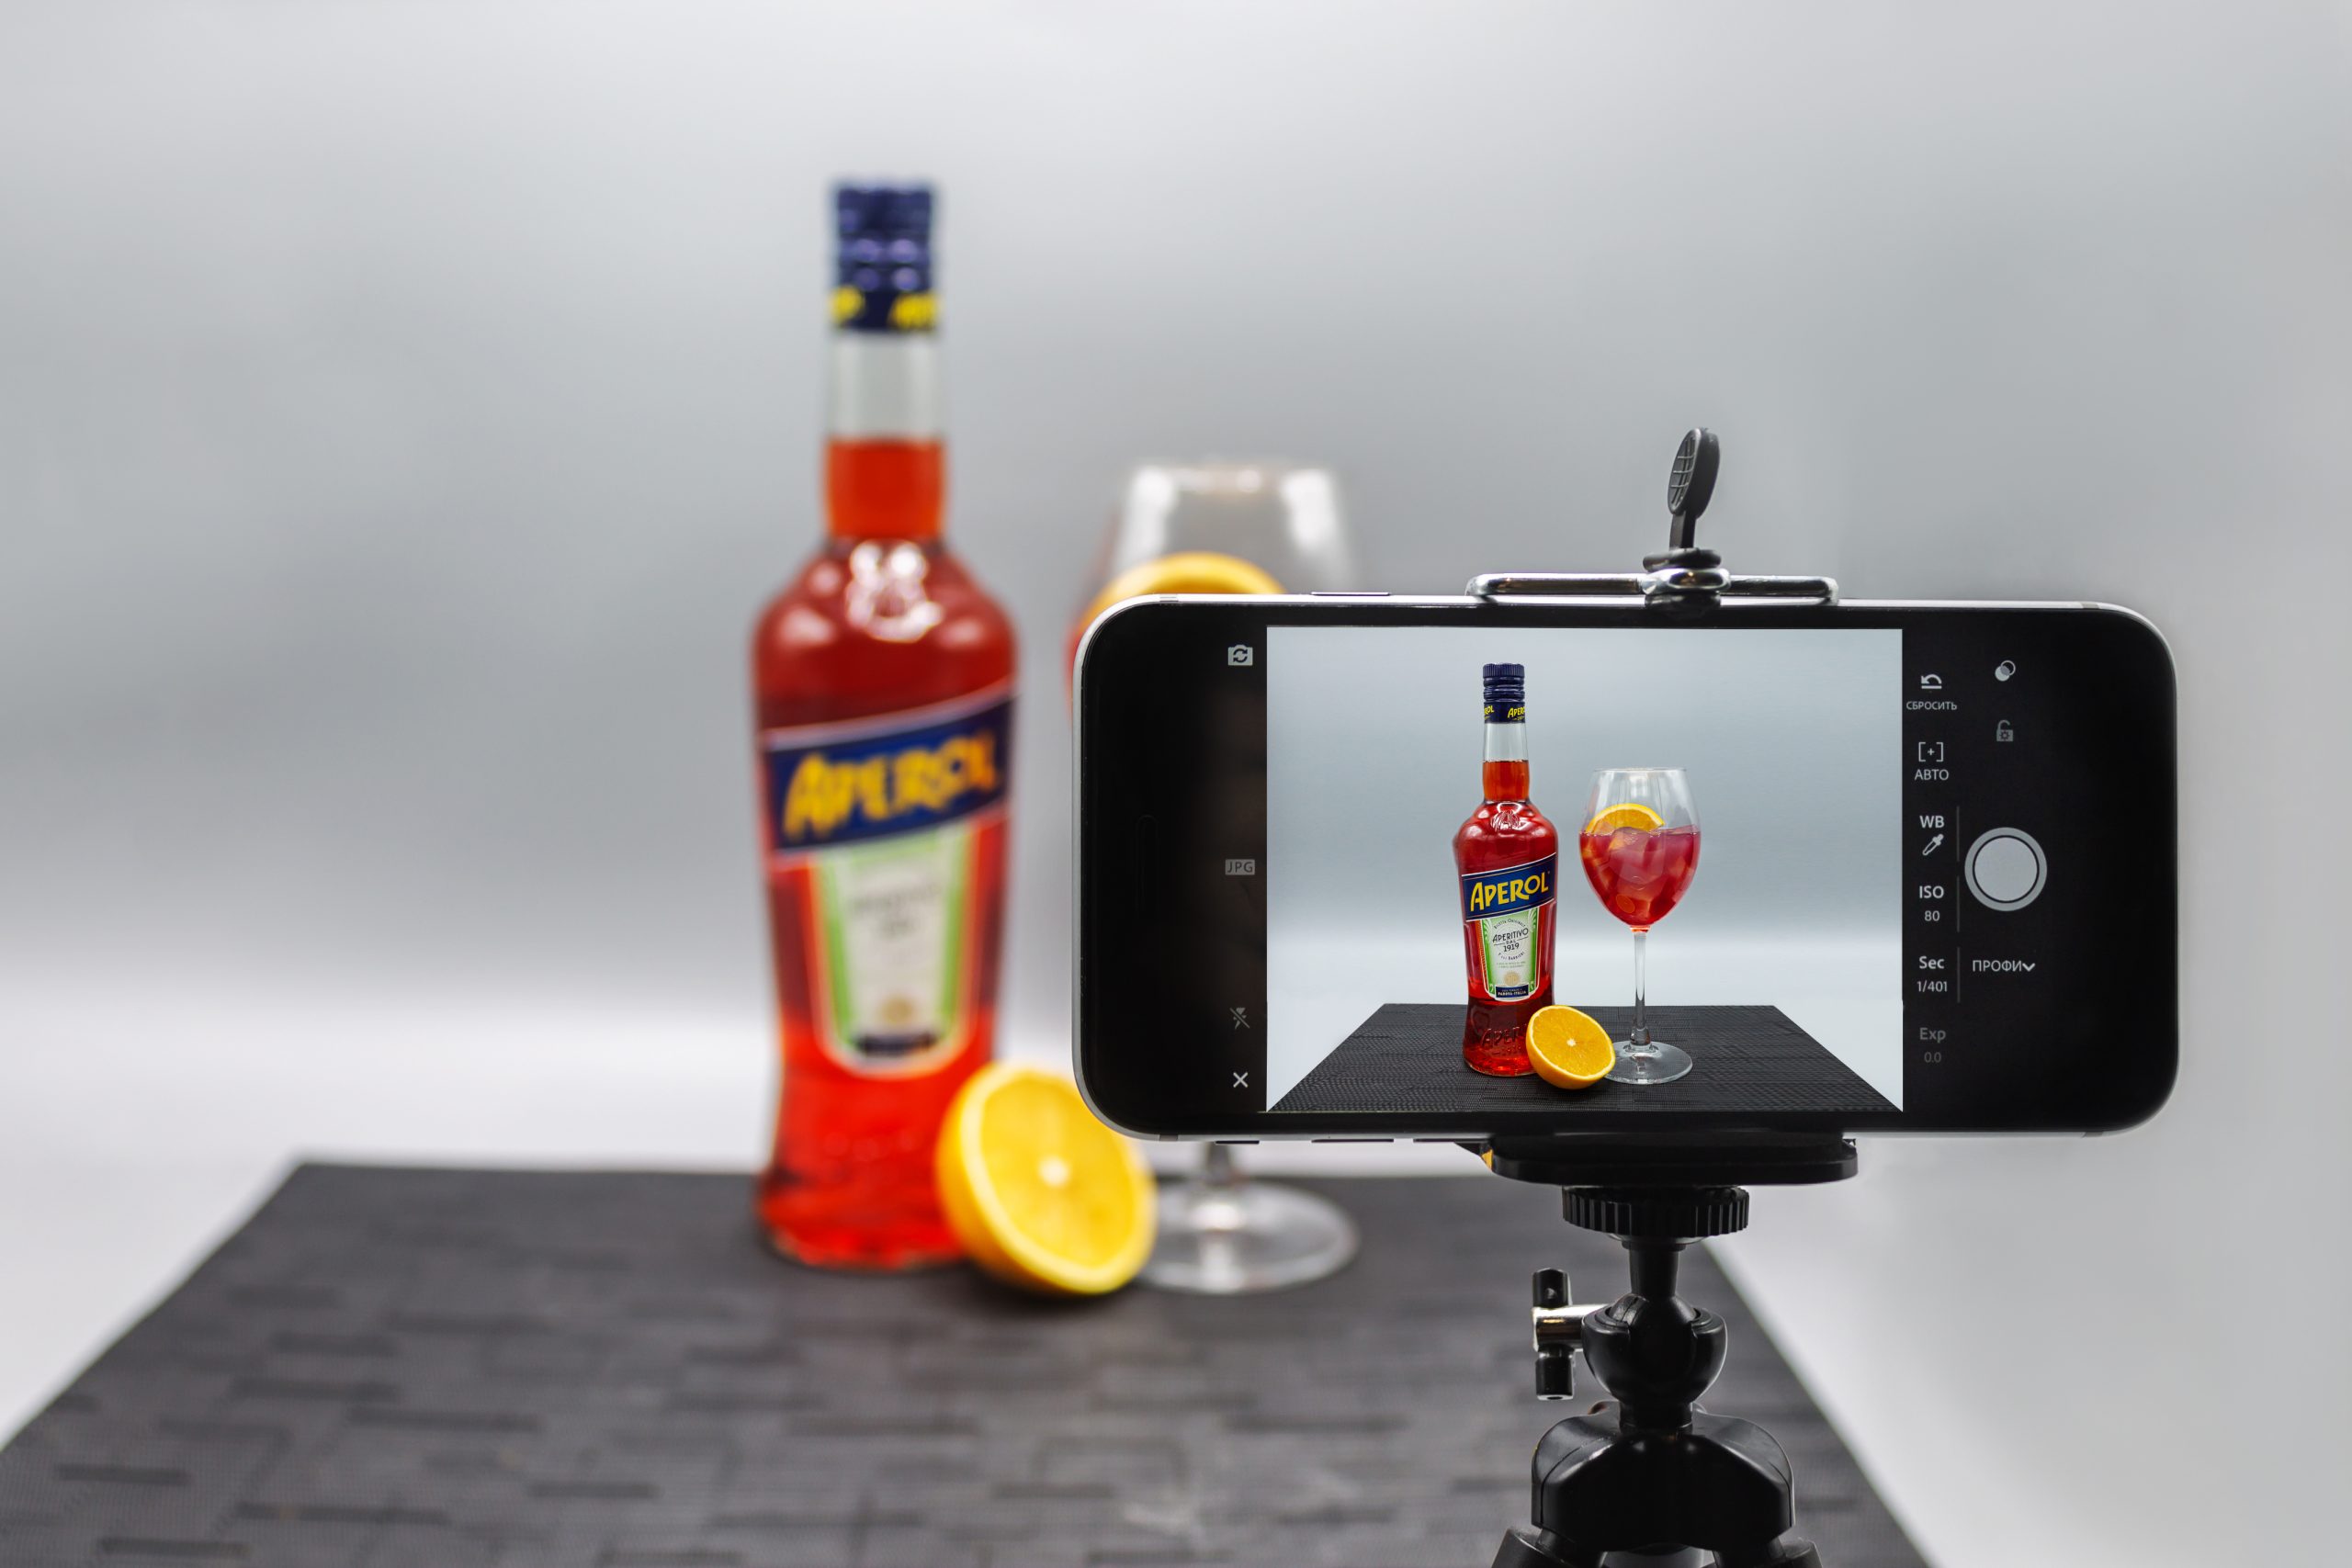
The best product images have good lighting, focus, and color, just like any other shot.
Lighting issues, blurry photographs, and color accuracy issues are all common mistakes. Automated picture boxes are becoming increasingly popular, however, they frequently create images that are completely washed out and overexposed in an attempt to make the background white. At the very least, we recommend employing strobes with softboxes and a tripod.
You don’t need expensive equipment like light tents or high-end cameras to produce effective product images. A cellphone camera and good window light may be all you need to get started. However, you must ensure that your product images are well-lit and in focus and that the colors are correct and realistic.
Subscribe to our monthly newsletter filled with good stuff
Your data are safe with us. We will never spam and you can always unsubscribe with 1 click.

4. Get the Main Photo First
Although most e-commerce sites allow for several product photographs, you should first focus on the main listing photo. You can always add extra photographs afterward, but your main image should always come first.
To begin with, it’s best, to begin with, the primary listing and then worry about the other photographs later.
Your key moneymaker is the main listing image. It’s what gets visitors to look at your listing, and a better main listing image will get them to convert.
The first image, known as the “hero image”, will usually be on a white backdrop and will appear in search results.
5. Be Creative With Secondary Photos
After you’ve taken the main product image, you may use supplementary images to illustrate the product’s story in further detail.
Secondary listing images are where you may have a lot of fun while telling your product’s story.
The secondary images are where you can show everything that’s in the box, including a description of what you’ll get and all of the small components. This is where you may display everything.
Subscribe to our monthly newsletter filled with good stuff
Your data are safe with us. We will never spam and you can always unsubscribe with 1 click.
Another option is a close-up photo that shows, for example, what type of connector goes into this item. Those are what I call explainer graphics since they tell me what it is.
Images of the product in use, or lifestyle images, will be included later. These aren’t required, and they can be difficult to execute successfully. They’re optional, and you shouldn’t undertake them until you’ve completed the original photoshoot.
Lifestyle images are extremely difficult to create at a professional level, and I’m not sure they’re always worth investing in, because the secondary listings don’t provide as much return on investment.
6. Stick With Photos

Expensive text and graphics may be tempting to incorporate with your product images, but you should normally avoid them. The greatest approach is to let products stand on their own.
Don’t use heavy infographics. I see listings all the time that are overburdened with infographics; charts that show how your product differs from the competition, or text-heavy photos that detail every tiny element of the product can muddle the visual presentation and detract from the overall aesthetics.
7. Consider Hiring Pros
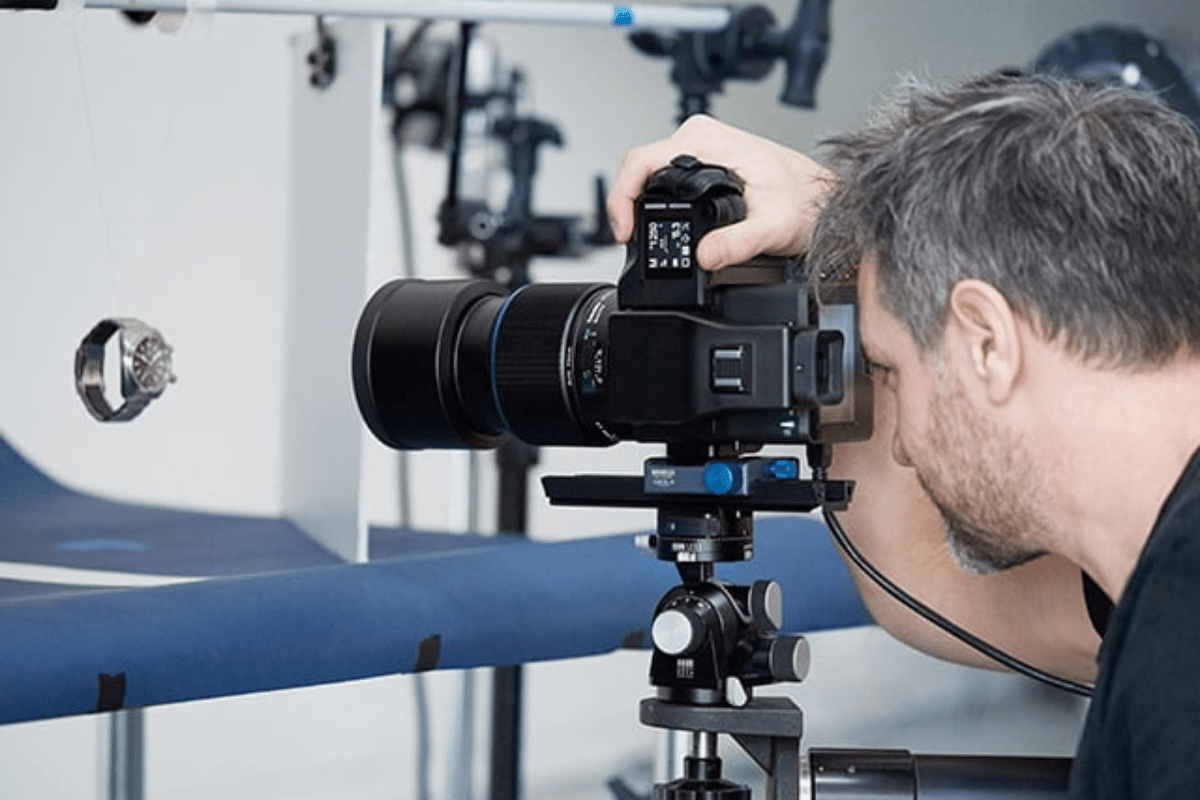
Although entrepreneurs like to do everything themselves, there are instances when it is necessary to engage professionals. Professional photography may initially be more expensive, but it can save time, energy, and irritation and contribute to increased sales.
Calculate the prices to see if employing a professional is less expensive. It’s probably not worth it to do it yourself if you have to buy a lot of equipment if you only need one shot.
After all, if product photography isn’t your forte, hiring someone who is an expert in the sector might be a wise business option.
The majority of businesses, large and small, lack the personnel and equipment necessary to produce images that showcase their products in the best possible light. You might be amazed at how affordable outsourcing can be. The days of paying astronomically expensive day fees for product photography are long gone. Outsourcing is straightforward, quick, and easy with flat per-photo costs.